


For so long, I came across pictures of manicures like the one in the picture below and thought, "How in the world do they make their lines so straight?" I searched the internet to see how it was done and finally, I came across the 'nail striping tape method'. I've been incorporating this method in many of my nail designs for the past few weeks and I wanted to share with you guys the tricks I picked up during the process.

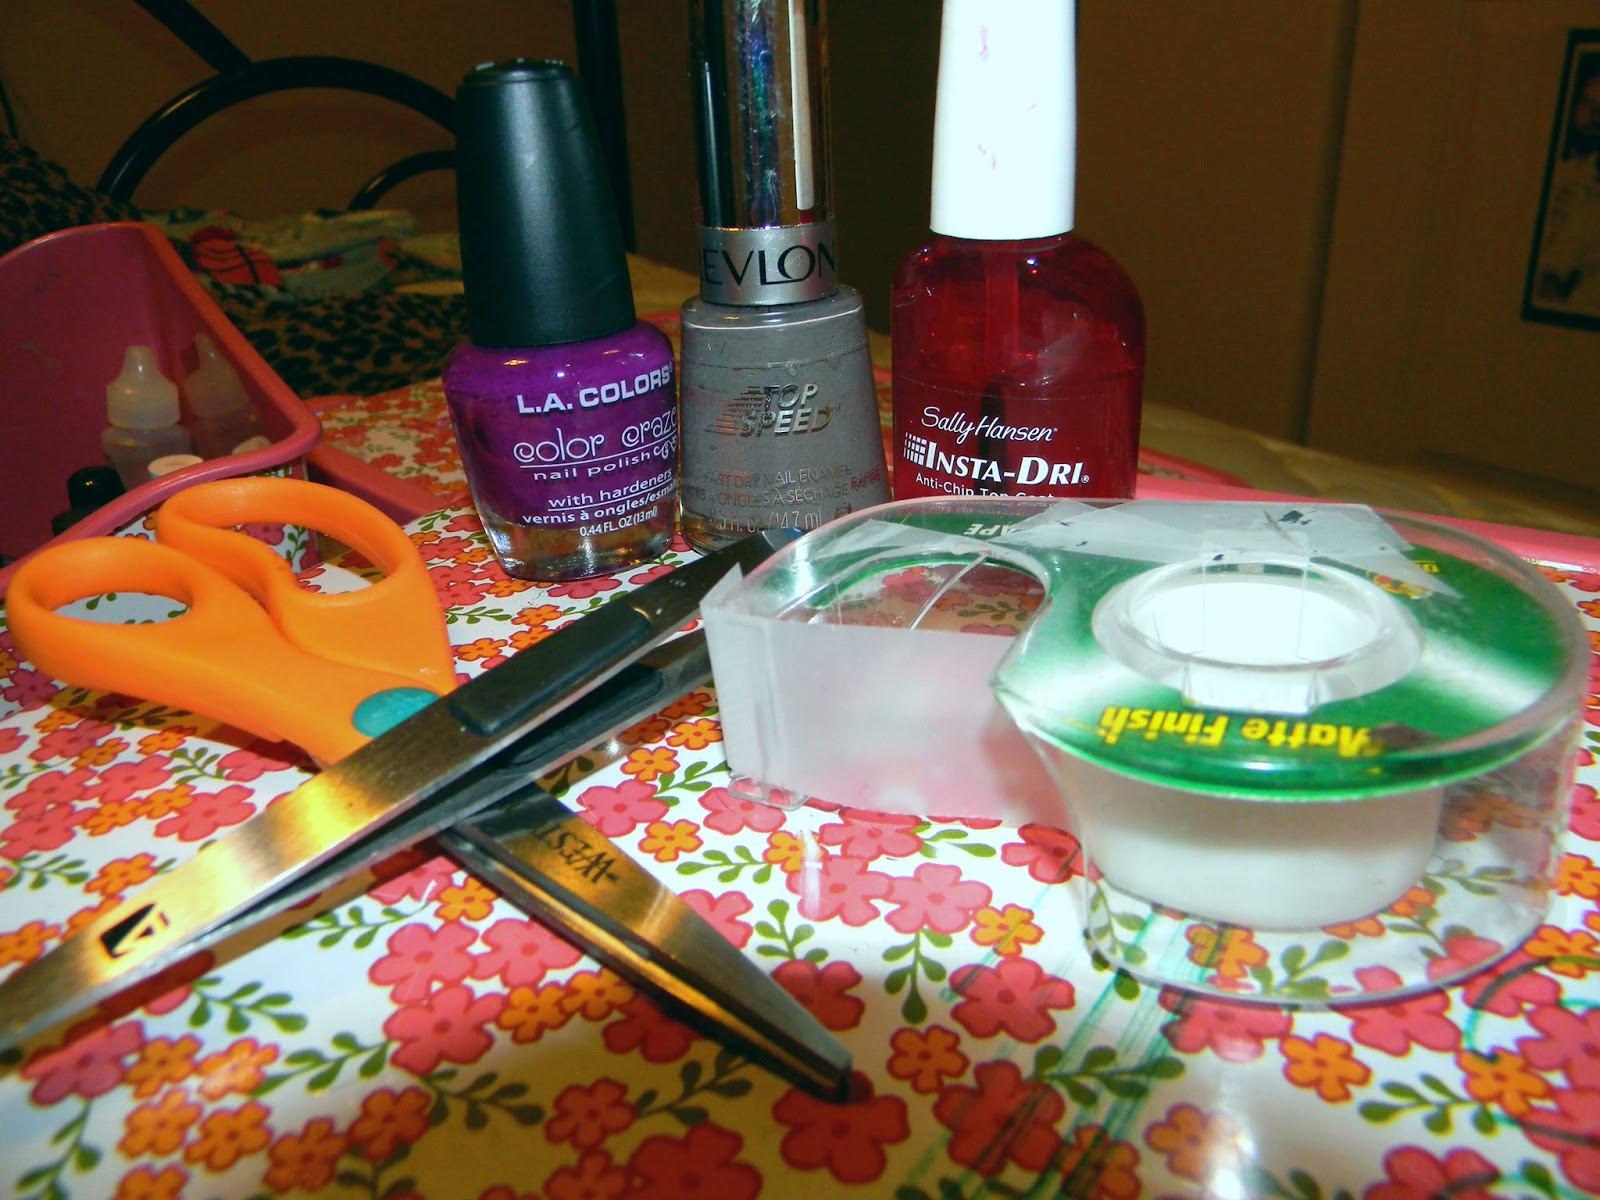
For this "tutorial", you will need at least two different colored nail polishes (glittered nail polish also looks amazing). I used L.A. Colors Color Craze nail polish (The color strangely did not come with a name but it is the purple color) and Revlon's Top Speed Nail Enamel in Stormy which is a muted grey color and in my opinion, a great color for the winter and fall. To achieve the manicure, you will need striping tape. You can find all over the internet. Born Pretty Store by far has the cheapest I have seen so far. If you do not have striping tape, that is okay! I found that if you cut small strips of regular tape, you can achieve this look, which is what I did for this tutorial.
You're gonna start by painting your nails with the first color you have chosen. It's okay if you end up painting your skin, you can clean that up later. I HIGHLY recommend you use a base coat before painting your nails with any color. It will protect your nails from staining and extend the life of your manicure. Sally Hansen's Salon Manicure Smooth & Strength Base Coat is my holy grail base coat.

Once your nails are completely dry, place the strips of tape you cut up in your choice of pattern on your nails. Try your best to smooth it down right to the edges because the nail polish will seep through. Make sure the tape carries on past your nail for it will make it a lot easier to remove the tape later. It is very important your remember the order you have applied them in!! Trust me, the first time I tried this, I did not keep track and when I went to remove the tape, I just began picking at random strips and completely messed up my manicure.

It is now time to apply the second color over the tape and should look something like this. While the polish is still wet, begin removing the tape in reverse order, meaning the last strip of tape you placed on your nail, will be the first strip you remove. I find that it is easier to remove the tape with tweezers and your fingers won't get covered in nail polish either.
Once your nails are dry, apply a coat of top coat. I use Sally Hansen's Insta-Dri Anti-Chip Top Coat

Your manicure will now look something like this. (The top coat kinda made my color bleed a little bit. If anyone knows of a top coat that won't make colors bleed, I would love you forever if you can let me know in the comments!) Once your nails are completely dry, dip either a small nail brush or cotton swab into acetone and clean up if you did get polish on your skin.
There are many different designs you can come up with this method, so have fun creating! Hope you guys found this helpful xoxo