


Haaai! Last night, after I posted my mummy nails tutorial, I wanted to do another Halloween tutorial as soon as possible, but I didn't know which look I wanted to do next. Then I began to stare at my nail polishes and this neon green polish stood out from all the others and immediately thought, "I SHOULD DO A CARTOON VERSION OF FRANKENSTEIN'S MONSTER!!", and that is what I did. I'm here to show you girls a quick step by step tutorial on how to recreate Frankenstein's Monster nails. I also made a female version of this monster - you know, the one Victor Frankenstein would have created if he didn't die...well at least in my imagination, that's what would have happened. Anywho, let's get started with this tutorial!
What you will need:
- A lime green nail polish - I used Salon Perfect's Professional Nail Laquer in Loopy Lime
- Black polish or acrylic paint
- White polish or acrylic paint
- Red polish or paint
- Nail striper
- Dotting tool

Start off with your base coat, as usual. Once that is dry, apply two coats of your lime green polish. I used about 3 simply because this nail polish in particular isn't very pigmented. After those have been left to dry for a few minutes, I added a top coat to speed up the process.
Female:

Dip your nail striper into your black polish and draw the hair. You can make it as messy or as neat as you choose.

For the eyebrows, I drew two horizontal lines with a slight curve and added two smaller vertical lines, kind of like the stitching.

Take your dotting tool and dip it into the white polish and make two circles under the brows. These of course, are going to be your eyes (duh, Jessica!) . Once you do that, wipe off your tool.

Take your dotting tool again, but now dip it into the black polish

Now with your striper, draw a nose and mouth

I took red nail polish with another nail striper and drew on some lips and a bow because I mean, she is supposed to bed a girl, right?

I then added some small white vertical lines onto the hair, inspired by Frankenstein's bride. Your nail now should look something like this. (Maybe even better too!)
Now for the male:


Follow the same steps as I listed above except the lips and bow (LOL). I did the infamous mono-brow but added a bit of stitching to it, as well as the mouth.
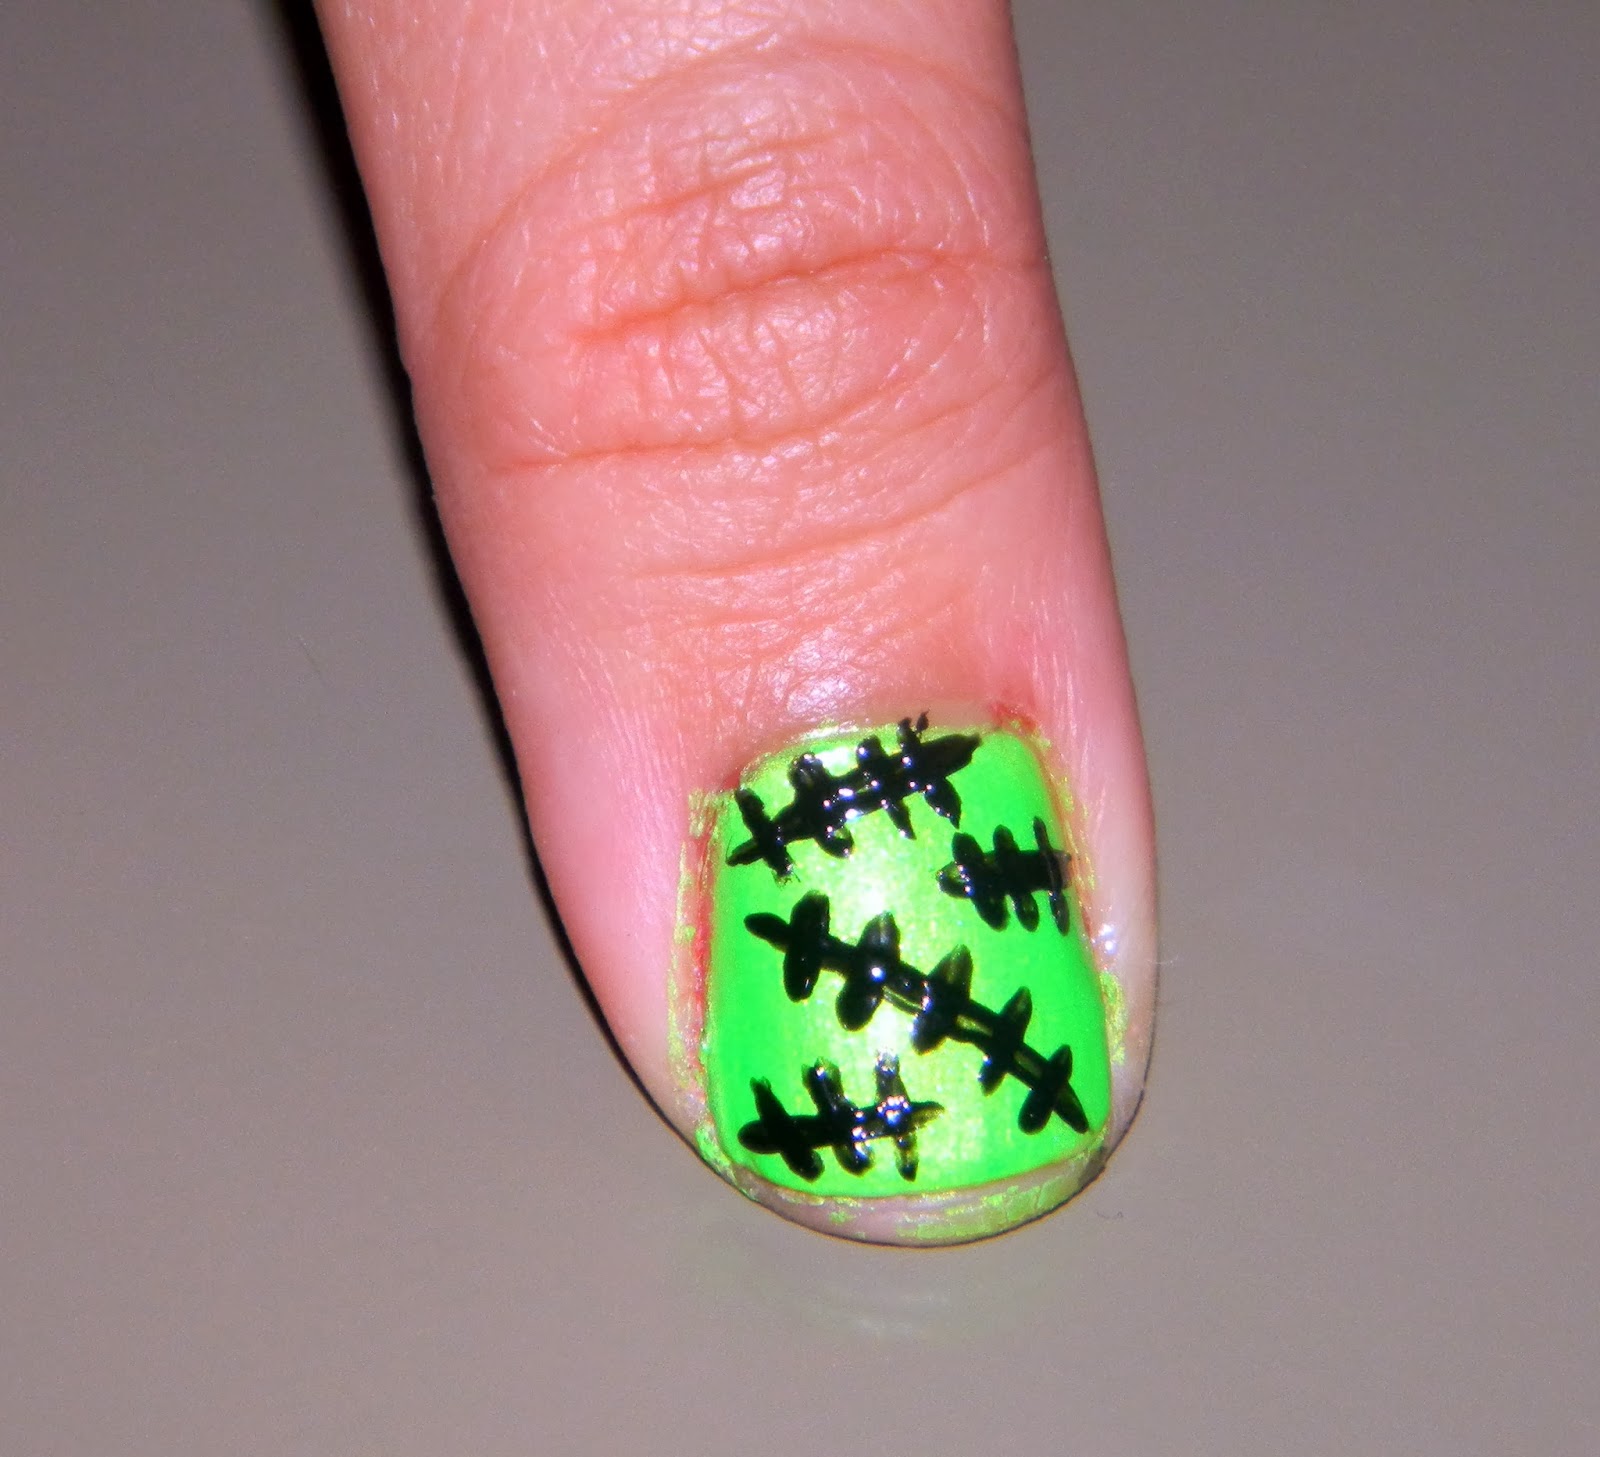
For the rest of my nails, I drew a set of stitches on them. I drew the monsters only on my ring and index fingers.

And this is my final look! I really hope you guys enjoyed this nail look. If anyone has a request on any Halloween nails you'd like me to do, leave a comment below; More will be on its way. Much love,

These nails are AMAZING!! I love the neon green colour paint you have used too. I absolutely love your step by step guides to painting these incredible nails, I must give it a go myself! I've just found your blog through Bloglovin' and I love it! It's beautiful.
ReplyDeleteLove your new follower, Jess xx
http://hellosunshineblogx.blogspot.co.uk
Thank you very much for checking out my blog! I would love to see your take on these nails if you do end up recreating :) xx
Delete