


Halloween is right around the corner, you guys! I am absolutely excited to dress up and go trick or treating because I mean, you are never too old to go trick or treating. To get in the Halloween spirit, I became inspired to do this very quick and easy mummy nail art design. If you are interested in seeing how I did this design, keep reading.

To achieve this mummy look, you will need:
- A white nail polish - mine is from KleanColor (04 White). I found this one at my local oriental shop
- Black polish - L.A. Colors Color Craze Polish (Circuits)
- Nail striper brush (If you have a black nail art polish, that is even better)
- dotting tool or a toothpick
Let's get this tutorial started!
*Note: I apologize if my fingers look very dry. My nail polish remover makes them look that way and I absolutely hate it.

Start off by applying a base coat. This will prevent your nails from staining from the polish and extend the life your manicure. My new favorite has been Kiss Diamond Hard nail strengthener - it is nothing less than amazing. Once you've let your base coat dry, apply a coat of white polish, wait a few minutes, then apply another coat. Let your nails completely dry before you begin with the design.

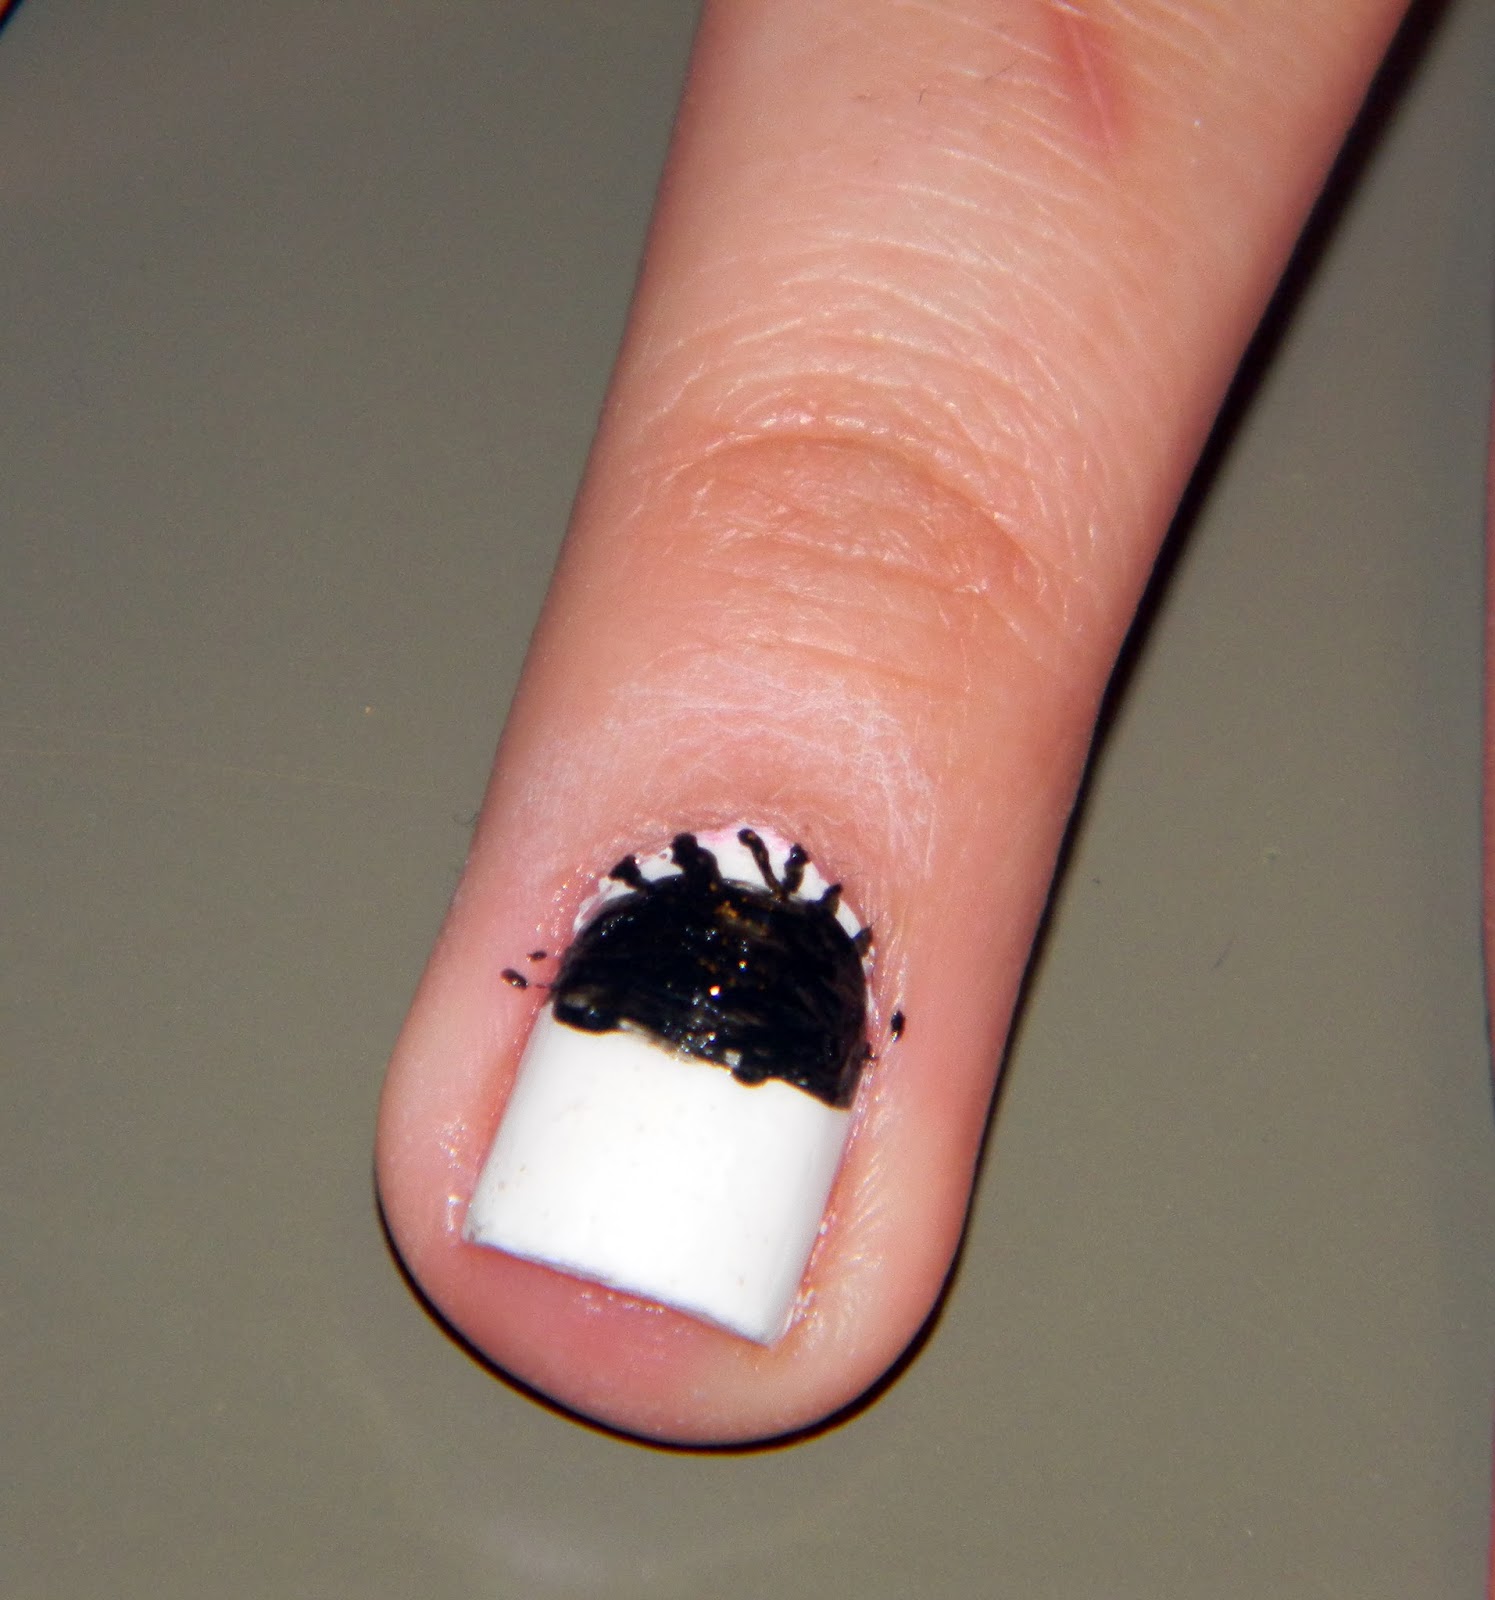
Draw a few lines going diagonal on top of that half circle you create. I made my lines going in both directions because the rest of your nail will consist of diagonal lines going in opposite directions. These lines will act as the bandages on the mummy.

First, draw three diagonal lines going to the right side.

Next, draw more lines, but this time, the will face the opposite side. I drew mine small because I wanted to add more lines and wanted them all to fit.

The last set of lines will be going in the same direction you did your first set.


Then with black polish, make smaller dots inside your white dots. These are the pupils of the mummy's eyes. You can also use googly eyes to give it a 3D effect if you'd life. Once you had let your design dry for a few minutes, seal in your manicure with your favorite top coat. It is very crucial that you do let them dry before applying your top coat because the design will bleed and it will be ruined. I hate when I spend some time trying to make some designs just for them to be ruined once I apply my top coat.

I did this design on my ring and index fingers and applied Essie's polish in Wicked on the other nails. You can do any color you choose or you can even draw the mummy on all nails which would look amazing as well! Hope you girls enjoyed and stay tuned for more Halloween nail tutorials!
